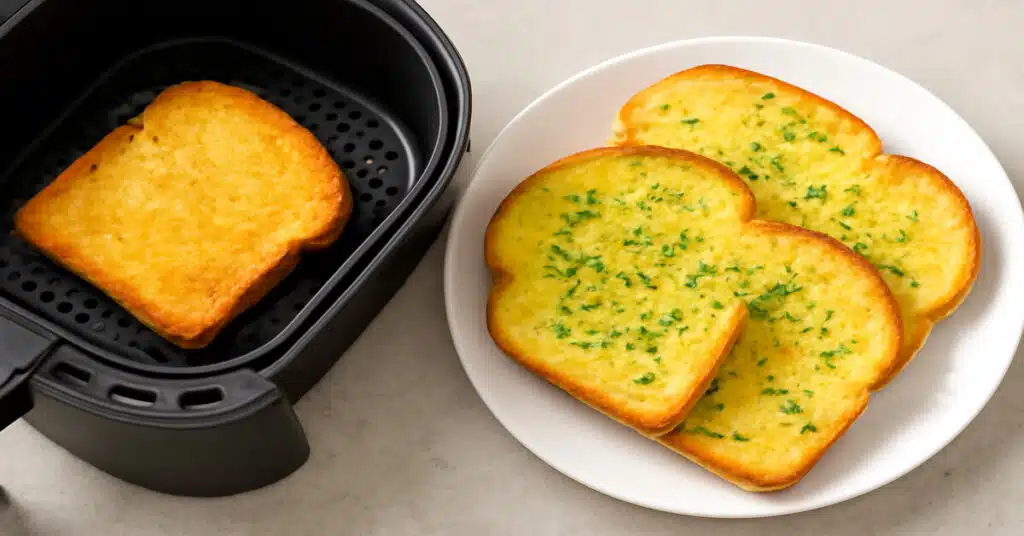
Cooking frozen garlic bread in an air fryer has been a real game-changer for me, especially when I am in a hurry. It is quick, easy, and gives the bread a perfect crispy texture without using the oven. I remember the first time I tried it—no mess, no waiting, just golden garlic bread in minutes! For busy households like mine, an air fryer is a lifesaver. You can make air fryer frozen garlic bread in no time, and it is just as tasty as oven-baked garlic bread. Whether it has a snack or a side dish, it has the perfect way to enjoy crispy garlic bread without any hassle.
Why Use an Air Fryer for Garlic Bread?
Using an air fryer for garlic bread has become my go-to method, especially when I need a quick snack or side dish. Here is why I prefer it over a traditional oven.
- Fast Cooking: The air fryer heats up instantly, unlike the oven, which can take time to preheat. I can have crispy garlic bread in just 5-7 minutes, which is perfect when I am in a rush.
- Perfect Crispiness: The air fryer circulates hot air evenly, ensuring every slice of garlic bread gets crispy without burning or drying out. I remember my first time—it was just golden and crisp all over, with no soggy spots!
- Energy Efficiency: Air fryers use less energy than an oven. This means I save on electricity, and I do not need to heat a large oven just for a small batch of garlic bread.
In short, air fry frozen garlic bread offers speed, consistency, and energy savings—all while delivering delicious results. Whether it is a quick snack or a side dish, the air fryer makes it easy and tasty!
How to Cook Frozen Garlic Bread in Air Fryer
Cooking frozen garlic bread in an air fryer is super simple. Here is how I do it:
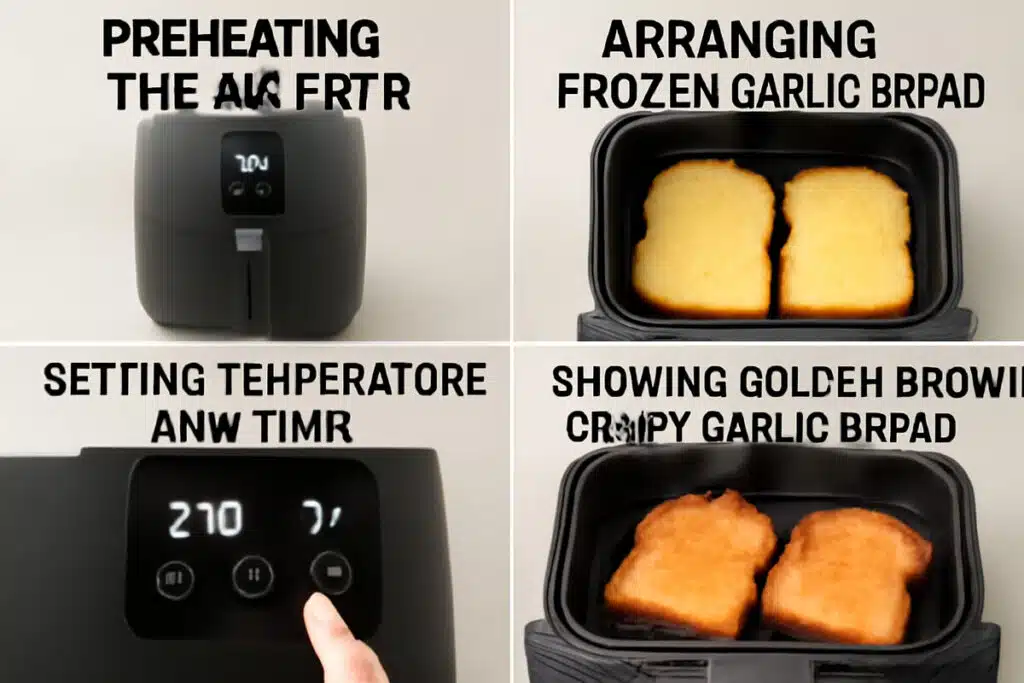
- Preheat Your Air Fryer: I start by preheating my air fryer for about 3–5 minutes. This ensures the garlic bread cooks evenly, just like when you preheat an oven. It is much faster than waiting for an oven to warm up.
- Arrange the Frozen Garlic Bread in the Basket: Next, I place the frozen garlic bread into the air fryer basket. I make sure the slices are not overlapping so that the hot air can circulate and give a crispy finish all around.
- Set the Cooking Temperature and Time: For crispy garlic bread, I set the temperature to 360°F (182°C) and cook it for about 5–7 minutes. If the bread is thicker, I might need a bit more time. The result should be golden brown and crispy.
- Air Fryer Settings for Frozen Garlic Bread: I’ve found that 360°F for 6 minutes works best for most frozen garlic bread brands. If I want extra crispiness, I cook it for one more minute but keep an eye on it to prevent burning.
Using an air fryer for frozen garlic bread is quick and simple, giving you a crispy result every time—perfect for when you are in a hurry or just want a tasty snack!
Best Frozen Garlic Bread for Air Fryer
When it comes to choosing the best frozen garlic bread for the air fryer, I have learned that it is not just about taste, but also texture and how well it cooks in the air fryer. The right brand can make all the difference, ensuring you get that crispy, golden result without any soggy spots.
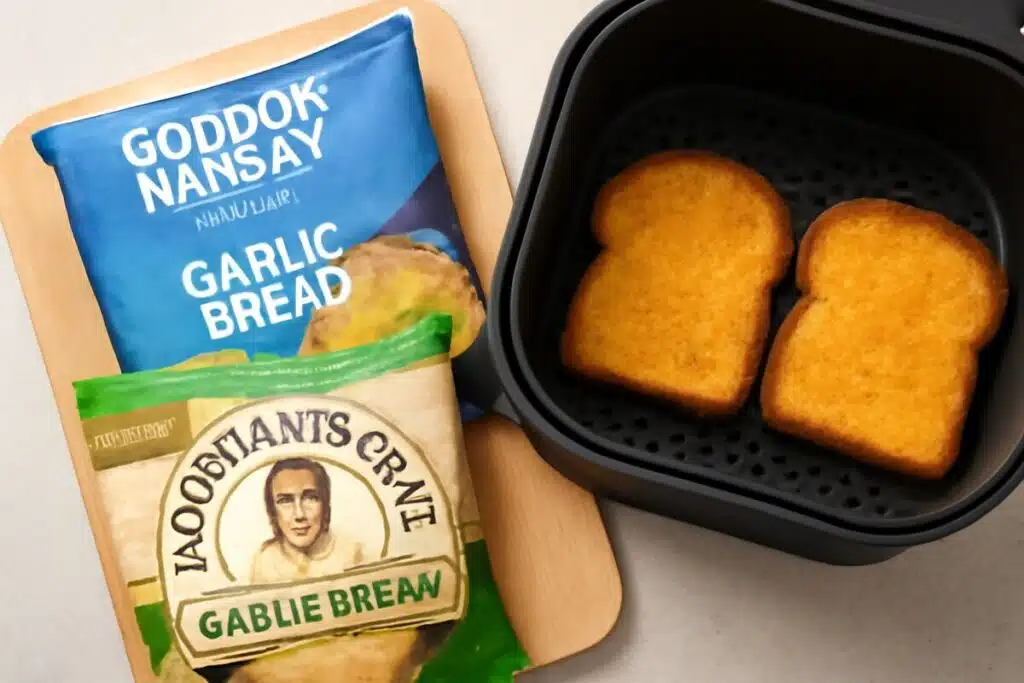
- Popular Brands i have Tried:
One brand that consistently gives me great results is Gordon Ramsay’s Frozen Garlic Bread. It crisps up nicely in the air fryer and has a rich garlic flavor. Another solid choice is Newman’s Own Garlic Bread. It is a bit thicker, but still turns out crispy, and I love how evenly it cooks. Both of these work perfectly in an air fryer, providing that ideal crunch while keeping the inside soft.
- Texture and Flavor:
The best frozen garlic bread for air fryer tends to have a slightly thicker texture. This makes it hold up better during cooking and become extra crispy without burning. Look for brands that advertise “crispy” or “crunchy” for the best results. The garlic flavor should be rich and buttery, with just the right amount of seasoning.
- Ease of Cooking:
In my experience, the best frozen garlic toast in air fryer brands cook evenly and quickly. Whether you are using garlic toast in air fryer frozen or thinner slices, it is important to follow the package instructions. The air fryer helps maintain both the flavor and crispiness, making them as good as freshly made garlic bread.
Choosing the right frozen garlic bread for your air fryer makes cooking easier and tastier. After experimenting with a few brands, I found my favorites, and now I can enjoy crispy, flavorful garlic bread in no time!
5. Air Fryer Frozen Garlic Bread Recipe
If you’re looking for a quick and easy air fryer frozen garlic bread recipe, you’re in the right place! This method will help you get crispy garlic bread every time with minimal effort. Here’s how I do it:
Ingredients:
- Frozen garlic bread (your favorite brand)
- Optional: Extra butter or garlic seasoning (I love to add garlic powder for extra flavor)
Instructions:
- Preheat Your Air Fryer: I always start by preheating the air fryer for about 3-5 minutes at 360°F (182°C). This ensures the garlic bread cooks evenly, and it’s faster than waiting for an oven to warm up.
- Arrange the Garlic Bread: Place the frozen garlic bread slices in the air fryer basket. Make sure the slices are not overlapping. Leave some space between them so the hot air can circulate and make them crispy all around.
- Cook the Garlic Bread: Set the air fryer to 360°F and cook for about 5-7 minutes. If you like it extra crispy, cook it for 1-2 more minutes. The result should be golden brown and crisp.
- Optional Step: For extra flavor, I melt a little butter and drizzle it over the bread once it’s done. If you like an even stronger garlic flavor, I sprinkle a bit of garlic powder or parmesan on top.
Tips for Enhancing Flavor:
- Add Parmesan: I love adding grated Parmesan cheese before cooking. It adds a savory flavor and makes the garlic bread even crispier.
- Season It Right: To boost the garlic flavor, try adding a pinch of garlic powder or fresh parsley after cooking. This will make the garlic bread taste even better!
This recipe is great for busy days when I need a quick snack or side dish. The air fryer makes the garlic bread crispy and tasty, just like it’s fresh out of the oven!
Frozen Garlic Bread in Air Fryer: Temperature and Time
To get crispy, golden garlic bread in the air fryer, it is all about the right temperature and time. Here’s how I get the perfect results every time:
- Ideal Temperature:
I’ve found that 360°F (182°C) is the best temperature for frozen garlic bread in the air fryer. It cooks the bread evenly, giving you a crispy exterior and a soft inside without burning the edges.
- Cooking Time:
I usually set the air fryer for 5–7 minutes for most frozen garlic bread. This makes it crispy and full of flavor. If the bread is thicker, I add 1-2 more minutes. Since air fryers can vary, I always check to make sure it is cooked perfectly each time.
- Adjustments Based on Bread Thickness:
Thicker slices of garlic bread need more time to crisp up. I usually cook them for 7–8 minutes. For extra crispiness, I flip the slices halfway through. Thinner slices cook faster, so I start with 5 minutes and check to ensure they are crispy.
- Consistency for Best Results:
For even cooking, place the garlic bread in a single layer in the air fryer basket. If the slices are too close, the hot air will not circulate properly, and they will not get crispy. I learned this through trial and error!
Using an air fryer to cook frozen garlic bread is quick, easy, and gives you perfect results in minutes. No need to wait for the oven—just a few minutes in the air fryer, and you are all set!
Tips for Crispy Frozen Garlic Bread in Air Fryer
Getting that perfect crispy garlic bread in the air fryer is easier than it seems. After a lot of practice, I’ve learned a few tricks that always work. Here are some simple tips for the crispiest garlic bread:
- Flip the Bread Halfway: A great trick is flipping the garlic bread halfway through cooking. This makes sure both sides turn out crispy and golden brown. I used to leave it on one side, but flipping it makes all the difference for an even crunch.
- Add a Little Butter: If you want a buttery crisp, brush a little butter on the bread before or during cooking. It adds an extra layer of flavor and gives the bread that golden finish. I do this all the time, and it makes the garlic bread even more delicious.
- Sprinkle Garlic Powder: For a stronger garlic flavor, I sprinkle garlic powder on top before cooking. It really boosts the garlic taste and makes the bread even tastier. Sometimes, I also add a little parmesan for an extra savory kick!
- Don’t Overcrowd the Basket: I’ve learned that the air fryer works best when there’s enough space for the hot air to circulate around the bread. If the slices are too close together, they won’t crisp up as well. I always make sure there’s space between the slices for the best results.
- Check for Doneness: Since every air fryer is different, it’s a good idea to check on the bread as it cooks. If you like it extra crispy, just add an extra minute or two, but keep an eye on it so it doesn’t burn.
By following these simple tips, I always get perfectly crispy, golden garlic bread. They’ve made my air fryer garlic bread experience much better, and I’m sure they’ll work for you too!
Frozen Garlic Bread Air Fryer Instructions
If you are new to using an air fryer, cooking frozen garlic bread is super simple. Let me walk you through the steps based on what I have learned from personal experience.
Step 1: Preheat Your Air Fryer
Start by preheating your air fryer to 360°F (182°C) for 3–5 minutes. Preheating ensures that the air fryer is hot and ready, helping the garlic bread cook evenly, just like when you warm up an oven before baking.
Step 2: Arrange the Garlic Bread
Place your frozen garlic bread slices into the air fryer basket. It is important not to overcrowd the basket—this allows the hot air to circulate and cook the bread evenly. If the slices touch, they may not get crispy on all sides, which is something I have learned the hard way!
Step 3: Set the Cooking Time
Set your air fryer to 360°F and cook the garlic bread for about 5–7 minutes. For thicker slices, I suggest adding an extra 1–2 minutes to make sure it crisps up nicely. Keep an eye on it to prevent burning, as air fryers can vary slightly.
Step 4: Enjoy!
Once the garlic bread is golden brown and crispy, carefully remove it from the air fryer. Let it cool for a minute before enjoying your perfectly cooked garlic bread!
Troubleshooting Common Issues
- Not Crispy Enough: If your bread is not crispy enough, just add another minute or two, but always keep checking to avoid overcooking.
- Burning Edges: If the edges burn before the middle crisps up, lower the temperature to 350°F (175°C) and cook for a little longer.
- Overcrowded Basket: If the garlic bread is too crowded, try cooking in batches. The air fryer needs space to properly crisp the bread.
By following these simple steps, you will have crispy, delicious garlic bread in no time!
Easy Frozen Garlic Bread in Air Fryer Recipe

If you want a quick and tasty snack or side dish, this easy frozen garlic bread in the air fryer is perfect. It is simple, fast, and you will have crispy garlic bread in no time! Here’s how I make it:
Ingredients:
- Frozen garlic bread (your favorite brand)
- Optional: A little butter or garlic powder for extra flavor
Instructions:
- Step 1: Preheat the Air Fryer
I always start by preheating the air fryer to 360°F (182°C) for 3–5 minutes. This ensures the air fryer is hot and ready, just like preheating an oven but faster.
- Step 2: Arrange the Garlic Bread
Place your frozen garlic bread slices in the air fryer basket. Make sure they are not touching each other to ensure the hot air circulates around each slice and crisps it up evenly.
- Step 3: Cook the Garlic Bread
Set your air fryer to 360°F and cook the garlic bread for 5–7 minutes. If you want it extra crispy, cook it for 1-2 more minutes. The bread should turn golden brown and crispy when it is done!
- Step 4: Add Extra Flavor (Optional)
Once the garlic bread is cooked, drizzle a little melted butter over it for extra flavor. If you like a stronger garlic taste, sprinkle some garlic powder or Parmesan cheese on top while it is still hot.
Why I Love This Recipe
This recipe is great for busy days when I need a quick snack or side dish. The air fryer gives the garlic bread a crispy, flavorful texture without the hassle of using the oven. Plus, you can easily adjust it to your liking—whether you want it more buttery or garlicky!
With just a few ingredients and minimal effort, you will have delicious, crispy garlic bread in minutes. This has become my go-to recipe, and I am sure you will love it too!
(FAQ)
How long to cook frozen garlic bread in air fryer?
Ans: Cook for 5–7 minutes at 360°F. If the bread is thicker, add 1-2 extra minutes.
Can you put frozen garlic bread in the air fryer?
Ans: Yes, it is safe and works perfectly, giving crispy bread on the outside and soft inside.
What temperature should you set the air fryer for garlic bread?
Ans: Set the air fryer to 360°F (182°C) for the best results.
Can I cook frozen garlic bread in the air fryer?
Ans: Yes, just preheat the air fryer, arrange the slices, and cook at 360°F for 5–7 minutes.
How long to put frozen garlic bread in air fryer?
Ans: Typically, 5–7 minutes, but adjust based on the bread thickness and desired crispiness.
Conclusion
Cooking frozen garlic bread in an air fryer has made my life so much easier, especially when I need a quick snack or side dish. It is fast, easy, and gives the perfect crispy texture without the need for an oven. The air fryer heats up quickly and ensures the bread cooks evenly, saving both time and cleanup.
If you have not tried it yet, I highly recommend it. Whether you are looking for a quick snack, a side dish, or something to impress guests, the air fryer delivers delicious, crispy garlic bread every time. Give it a go—I’m sure you will love the crispy, flavorful results!