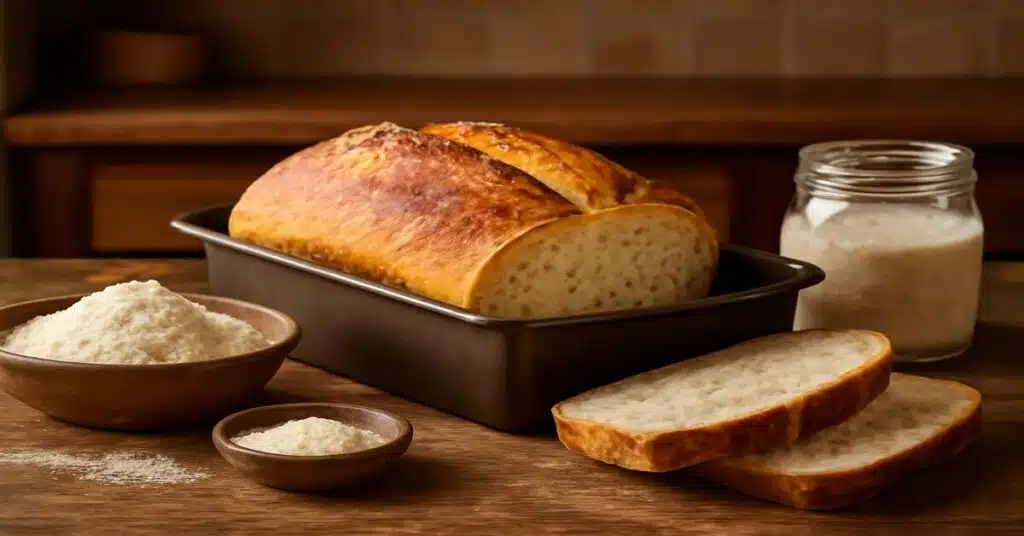
How a Loaf Pan Makes Sourdough Simple
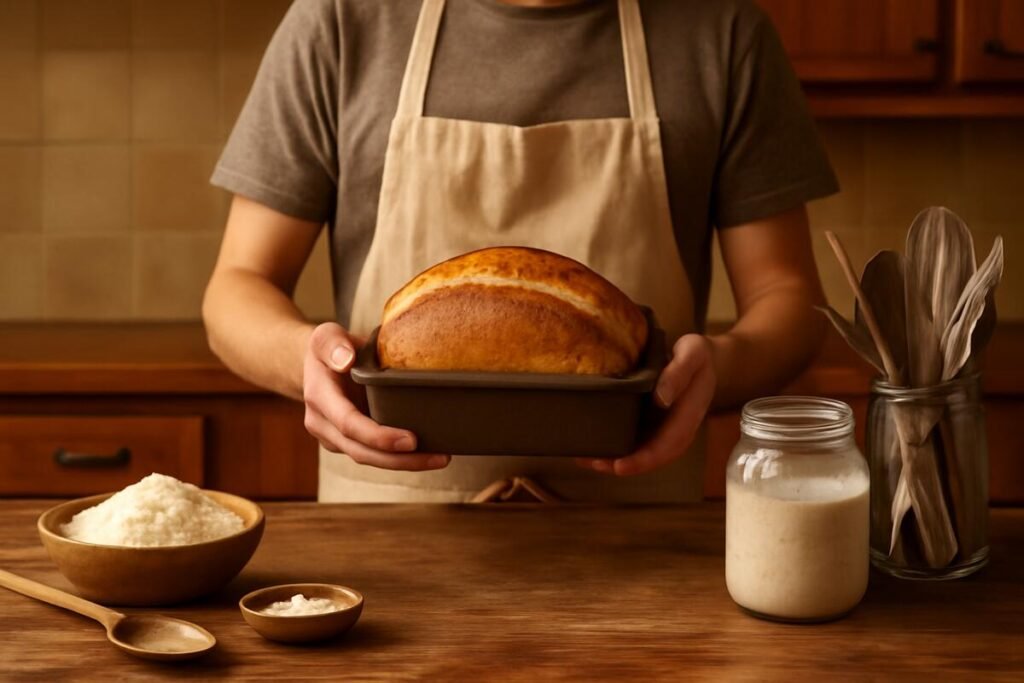
Do you want to bake sourdough bread but don’t have a Dutch oven? Do not worry—you do not need one. You can still make a soft, golden, bakery-style loaf using a simple loaf pan at home.
Baking sourdough in a loaf pan is a beginner-friendly method. It removes the fear of fancy tools or hard steps. It gives you a nice, even loaf that is easy to slice and perfect for toast or sandwiches.
When I started baking sourdough, I felt confused by all the advice online. I thought I needed special tools. But then I learned how to bake sourdough in a loaf pan—and it changed everything. The steps became easier, and the bread tasted just as good.
In this guide, I will show you how to bake sourdough in a loaf pan step by step. Whether you are just starting out or want a simpler way to bake, this method works well.
Let’s begin—because homemade sourdough should be simple, fun, and tasty.
Why Bake Sourdough Bread in a Loaf Pan?
Sourdough is a type of bread made using natural fermentation and wild yeast, which gives it that signature tangy flavor. When I first heard about sourdough, I thought it was too complex for me to make. But once I gave it a try, I was surprised at how easy it could be.
Baking sourdough in a loaf pan, instead of a Dutch oven, is a simpler method, especially for beginners. The loaf pan shapes the bread perfectly, making it easy to slice for sandwiches or toast. Plus, it’s easier to manage in your home kitchen. After trying it, I found that baking homemade sourdough bread in a loaf pan is both delicious and hassle-free. If you’re searching for an easy sourdough loaf pan recipe, this method is perfect for you too!
How to Bake Sourdough in a Loaf Pan (Step-by-Step)
Baking sourdough in a loaf pan is easier than it sounds. Let me guide you through the process step by step:
- Prepare the dough: Mix the ingredients – flour, water, salt, and your sourdough starter. Let it rest for several hours to rise.
- Shape the dough: After the dough has risen, press it into the shape of your loaf pan. This will give you a nice, even loaf.
- Proof the dough: Let the dough rise again in the pan. It should double in size, creating that light and airy texture.
- Bake the bread: Preheat your oven to 375°F. Bake the sourdough for 40-45 minutes or until the crust is golden brown.
This simple sourdough bread recipe without a Dutch oven allows you to create a homemade loaf with minimal effort. The loaf pan method makes the process easier, especially for beginners. Once you try it, you’ll never look back!
Easy Tips for Better Sourdough in a Loaf Pan
Here are a few tips I’ve learned over time to make baking sourdough in a loaf pan even easier and more successful:
- Keep the dough covered while proofing: I used to leave it uncovered, but covering it helps prevent the dough from drying out, giving it a better rise.
- Use a preheated oven: This tip made a huge difference for me! A hot oven helps your sourdough rise properly and creates a beautiful, crispy crust.
- Don’t skip the resting time: Letting your dough rest longer gives it a richer flavor. I always notice the taste is better when I take the time to let it rest.
By following these simple sourdough bread tips for beginners, you’ll get a loaf that’s not only flavorful but also perfectly shaped. Trust me, these small adjustments really do make a big difference!
Common Sourdough Mistakes (And How to Avoid Them)
Baking sourdough in a loaf pan is simple, but a few common mistakes can affect the results. Here is what I have learned from experience:
- Underproofing: Early on, I did not let my dough rise enough, and the bread came out dense. Always make sure your dough doubles in size during the proofing stage to get a light, airy loaf.
- Sticking dough: I have had sourdough stick to the pan a few times, which was frustrating. To prevent this, always grease your loaf pan thoroughly or use parchment paper to line it.
By keeping these tips in mind, you will avoid common pitfalls and bake a perfect sourdough loaf each time. These small adjustments really make a big difference!
How to Proof Sourdough in a Loaf Pan

Proofing is one of the most important parts of baking sourdough. It helps your bread become soft, light, and full of flavor. If you skip or rush this step, the bread can turn out flat or heavy. Do not worry—this guide will show you how to proof sourdough in a loaf pan in a few easy steps.
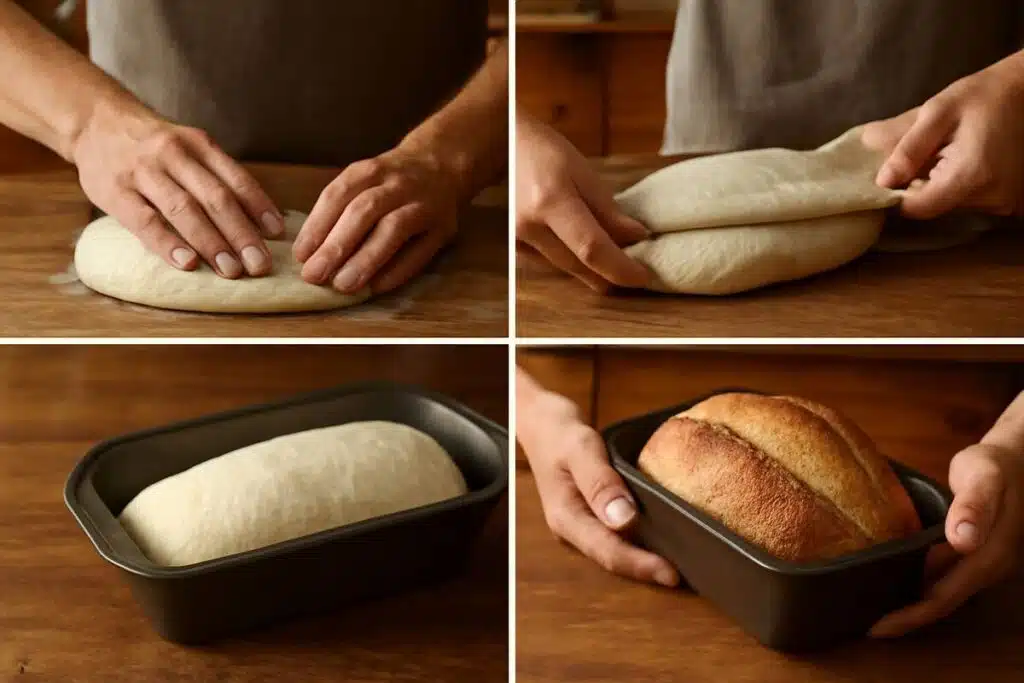
Step 1: Shape the Dough for the Pan
- After the first rise (called bulk fermentation), gently shape your dough to fit the loaf pan.
- Fold it into a tight oval or rectangle. Use the same shape as your pan.
- Place the dough into the pan seam-side down.
✅ This helps the dough hold its shape while rising and baking.
Step 2: Cover the Pan to Keep It Moist
- Cover the pan with plastic wrap, a damp towel, or a reusable cover.
- This keeps the dough from drying out while it rises.
A dry surface can stop the dough from rising well.
Step 3: Let It Rise at Room Temperature
- Place the pan in a warm, quiet spot. Try to keep the room between 72°F to 78°F (22°C to 26°C).
- Let the dough rise until it doubles in size. This usually takes 2 to 5 hours, depending on the temperature and your sourdough starter.
✅Tip: If your room is cool, try placing the pan in your oven with the light turned on (but no heat!).
Step 4: Check If the Dough Is Ready to Bake
Before you bake, check these signs:
- The dough should rise just above the rim of the pan.
- It should feel soft and springy if you press it gently.
- If you poke it lightly with your finger, it should bounce back slowly.
Common Proofing Mistakes to Avoid
- Don’t underproof
If the dough has not doubled in size, the bread will turn out dense and heavy. - Don’t overproof
If it rises too much, it may collapse or crack during baking.
✅Bonus Tip: Cold Proofing (Optional)
You can also proof your dough overnight in the fridge:
- Cover it well and refrigerate for 8–12 hours.
- Take it out and let it sit at room temperature for 30–60 minutes before baking.
This method gives your bread a richer flavor and saves time in the morning.
✅ Final Tip
Proper proofing makes your sourdough light, airy, and tasty. Follow these easy steps, and you’ll get great results—whether it is your first bake or your fiftieth.
Choosing the Best Loaf Pan for Sourdough Bread
When I started baking sourdough, I quickly realized that not all loaf pans are the same. The material of the pan can impact your bread’s texture and overall result. After trying a few different options, I found that heavy-duty metal and cast iron pans are the best for sourdough. These materials distribute heat evenly, ensuring a coarse, golden-brown exterior with a soft, airy interior.
I have learned that a heavier pan prevents uneven baking and helps achieve that perfect crust. Contrarily, non-stick pans, while convenient, don’t give the same crispness.
If you are following a sourdough bread recipe using a loaf pan, choosing the right one is crucial. The right pan ensures your bread bakes evenly, rises beautifully, and is easy to remove once it is done.
No Dutch Oven? Bake Sourdough in a Loaf Pan Instead
Do not have a Dutch oven? No problem! You can still bake perfect sourdough in a loaf pan and achieve that delicious crispy crust.
Here’s how I do it:
- Preheat the oven: Set your oven to 375°F and place the loaf pan inside while it’s heating. This helps create the hot environment your dough needs to rise evenly.
- Cover with foil: For the first 20 minutes, cover the loaf pan with aluminum foil. This helps trap moisture inside, creating steam and giving the crust a nice golden, crispy texture.
- Remove the foil: After 20 minutes, take off the foil and let the loaf bake until it turns golden brown and crispy.
Even without a Dutch oven, this method will give you a beautifully baked loaf with a perfectly crunchy crust. Enjoy your homemade bread!
How Long to Bake Sourdough in a Loaf Pan
Baking sourdough in a loaf pan is simple once you know what signs to look for. If you don not bake it long enough, the center stays raw. But if you bake too long, the crust may get too dark.
The best way to bake it right is to watch both the time and the color of your loaf.
Oven Temperature and Time
- Set your oven to 375°F (190°C)
- Bake for 40 to 45 minutes
Always preheat the oven before you start. A hot oven helps the bread rise well and creates a better crust.
Signs Your Bread Is Almost Ready
Start checking your loaf after about 35 minutes. Look for:
- A golden-brown crust on top
- A nice, fresh smell coming from the oven
- The bread pulling slightly away from the pan’s sides
These are all signs that your sourdough is almost done baking.
Try the “Tap Test” After Baking
Take the loaf out of the pan and tap the bottom of the bread.
- If it sounds hollow, it is done.
- If it sounds dull or soft, put it back in the oven for 5–10 more minutes.
This trick works great when you’re not sure if it is ready.
Optional: Use a Food Thermometer
If you have a thermometer, check the inside of the loaf.
- A fully baked sourdough loaf should be around 200°F (93°C) in the middle.
This is a quick and safe way to be sure your bread is cooked well.
What If the Crust Gets Too Dark?
If the top of your bread browns too fast:
- Cover the loaf loosely with foil
- Do this during the last 10–15 minutes of baking
This keeps the crust from burning while the inside continues to bake.
Let It Cool Before You Slice
After baking, let your loaf cool for at least 1 hour before cutting.
- This allows the inside to finish setting
- It also makes slicing much easier and cleaner
Final Tip
A well-baked loaf is crispy outside and soft inside. By following these easy steps, you will enjoy tasty sourdough bread that is perfect for sandwiches, toast, or eating plain.
FAQs About Baking Sourdough in a Loaf Pan
Can I bake sourdough bread in a loaf pan?
Ans: Yes, you can! It’s an easy method that results in a well-shaped, delicious loaf.
How long should you bake sourdough in a loaf pan?
Ans: Bake for 40-45 minutes at 375°F. Check for a golden-brown crust.
How do you shape sourdough for a loaf pan?
Ans: After rising, press the dough into the loaf pan, ensuring it’s even.
What type of pan is best for sourdough?
Ans: Use a heavy-duty metal or cast iron pan for even baking and a crispy crust.
Do I need a Dutch oven to bake sourdough?
Ans: No, you can bake sourdough in a loaf pan and still get a crispy crust with a few simple tricks.
Conclusion: Enjoy Your Homemade Sourdough Bread
Now that you know how to bake sourdough in a loaf pan, you have everything you need to make fresh, homemade sourdough bread in your own kitchen. By following the tips shared in this guide—from proofing the dough properly to choosing the best loaf pan—you’ll bake a perfectly golden, crispy loaf every time. I’ve made the process easy and approachable by sharing my own experiences. Baking sourdough in a loaf pan simplifies the bread-making process without compromising on flavor or texture. So, if you’re ready to enjoy freshly baked, bakery-style bread, grab your loaf pan and get started today! Happy baking!