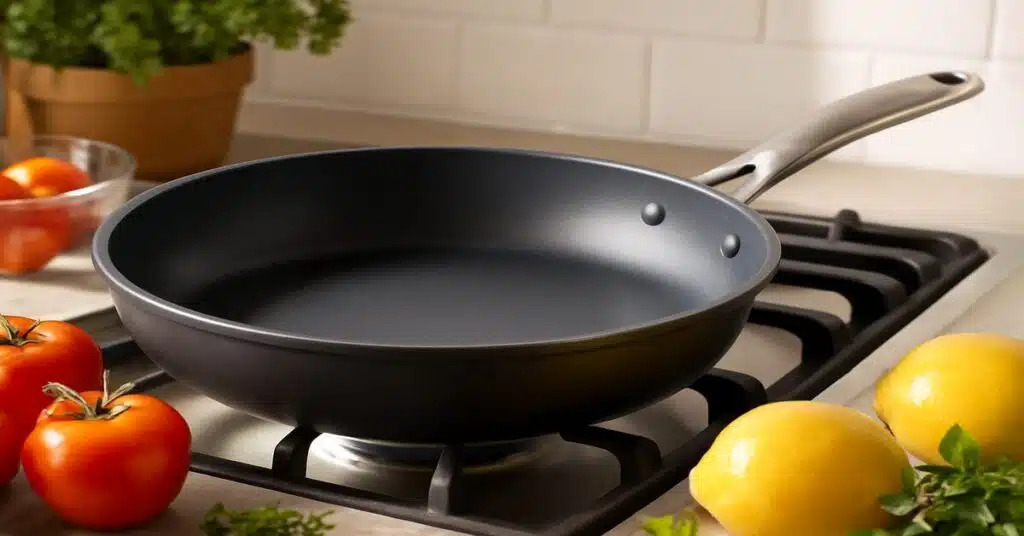
Many people switch to stainless steel pans expecting better cooking results, but feel frustrated when food starts sticking to the surface.
If your stainless steel pan keeps sticking, you’re not alone. This is one of the most common issues in home cooking.
Learning how to season a stainless steel pan can help make the surface less sticky and easier to cook on when done correctly.
In this guide, you’ll learn how to season a stainless steel pan step by step, which oils work best, and what actually prevents sticking in everyday cooking.
Quick Answer: How to Season a Stainless Steel Pan
If you’re wondering how to season a stainless steel pan quickly, here’s the simple method.
Here’s the quick way to season a stainless steel pan:
- Wash the pan with warm water and dry it completely
- Heat the pan on medium heat for 1–2 minutes
- Add a small amount of high smoke-point cooking oil
- Spread the oil into a very thin layer across the stainless steel surface
- Heat until you see slight smoke
- Turn off the heat, let the pan cool, then wipe away excess oil
This creates a light oil layer that helps reduce sticking during cooking.
Do You Really Need to Season a Stainless Steel Pan?
Many home cooks wonder, do you need to season a stainless steel pan before using it?
The short answer is no.
Unlike cast iron cookware, stainless steel pans do not require seasoning to work properly. They are designed to handle cooking without building a permanent oil layer.
However, light seasoning can help reduce sticking, especially for beginners who are still learning heat control and oil timing.
Stainless steel behaves differently from nonstick cookware. Food releases best when the pan is properly preheated and oil is added at the right moment.
From real kitchen use, preheating and cooking techniques have a bigger impact than seasoning itself. Think of seasoning as a helpful bonus, not a requirement. If you’re comparing cookware types, our guide on stainless steel vs nonstick cookware explains how they differ in daily cooking.
Why Seasoning Helps Reduce Sticking
Seasoning helps reduce sticking in a stainless steel pan by creating a very thin layer of cooking oil on the surface.
When the pan is heated, this oil reacts with the heat and lightly bonds to the stainless steel. Some cooks call this a simple form of polymerization, but you don’t need to think of it as chemistry. It’s just a thin protective layer formed by heat and oil.
This layer acts as a temporary barrier between food and the steel surface, which can make foods like eggs, fish, and pancakes less likely to stick.
However, seasoning for nonstick results is not permanent. Stainless steel will never behave like a coated nonstick pan.
From everyday cooking experience, proper preheating and using enough oil during cooking still have a bigger impact. Seasoning simply gives you a small extra help.
Step-by-Step: How to Season a Stainless Steel Pan Properly
If you want the best results when you season a stainless steel pan, follow these steps carefully. Small details like heat level and oil amount make a big difference in reducing sticking.
Step 1 — Clean the Pan First
Start with a clean stainless steel surface.
Wash the pan with warm water and mild soap to remove factory residue, dust, or old oil. Dry it completely with a towel.
A dry pan helps the oil bond more evenly during seasoning.
Step 2 — Preheat the Pan
Place the pan on the stove over medium heat for 1–2 minutes.
The pan should be warm, not extremely hot.
Preheating helps the stainless steel expand slightly so oil can spread into a thin layer.
Avoid high heat here. Too much heat can burn the oil too quickly.
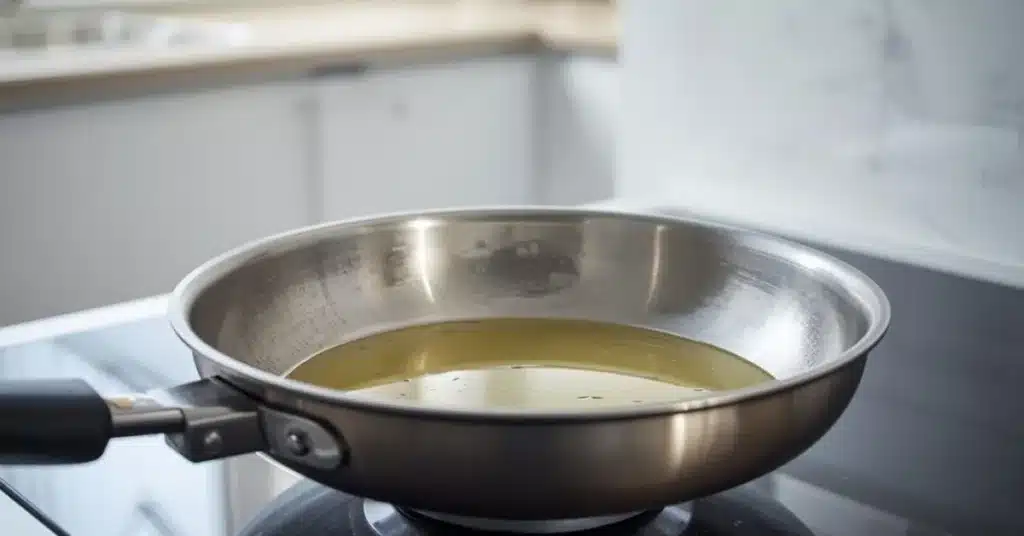
Step 3 — Add a Small Amount of High Smoke-Point Oil
Add about 1 teaspoon of high smoke-point oil like grapeseed or canola oil.
Use a paper towel to spread the oil across the cooking surface in a very thin layer.
The pan should look lightly coated, not greasy.
Step 4 — Heat Until Light Smoke Appears
Keep heating on medium until you see slight smoke.
This shows the oil has reached its smoke point and is reacting with the stainless steel surface.
Once light smoke appears, turn off the heat.
Step 5 — Let the Pan Cool Naturally
Allow the pan to cool on its own.
Cooling helps the thin oil layer settle and form a light protective coating.
Do not rinse the pan at this stage.
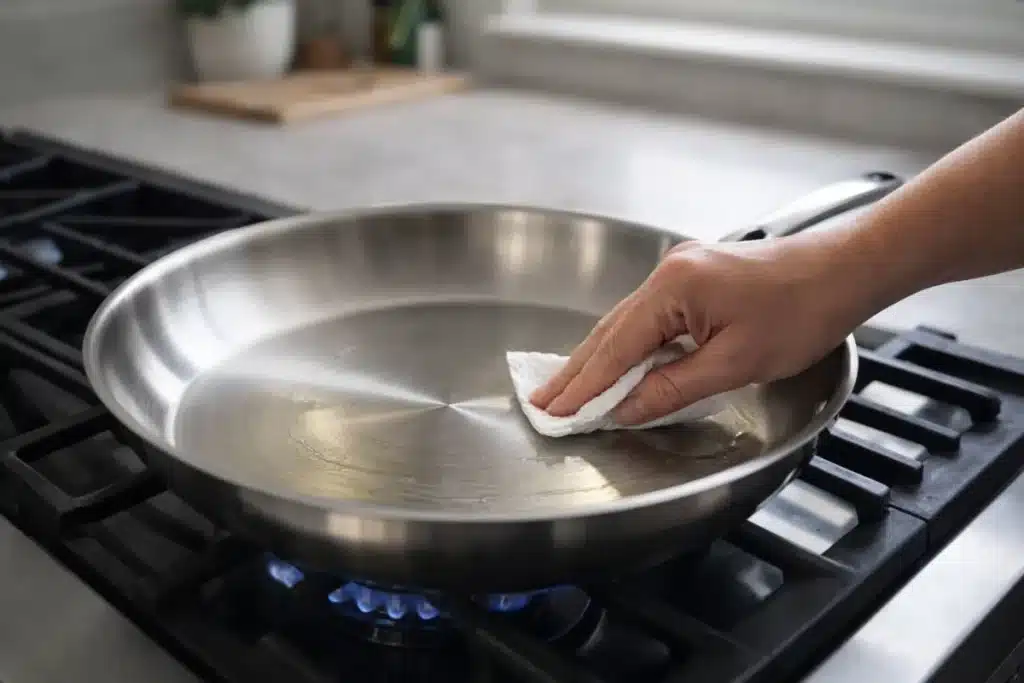
Step 6 — Wipe Off Excess Oil
When fully cool, gently wipe away extra oil with a clean paper towel.
The surface should feel smooth, not oily.
Your stainless steel pan is now lightly seasoned and ready to cook.
From real kitchen experience, this method works best for foods like eggs and fish that tend to stick.
Best Oils for Seasoning a Stainless Steel Pan
Choosing the best oil for seasoning a stainless steel pan is important because oil reacts to heat during seasoning.
You want oils with a high smoke point, meaning they can handle higher temperatures before breaking down or burning.
When oil burns too quickly, it leaves sticky residue instead of a smooth seasoning layer.
Oils with a high smoke point stay stable at higher temperatures, which helps create a smoother seasoning layer. You can see typical oil smoke points here.
Good Oils for Seasoning
These high smoke point oils work well:
✔ Avocado oil – very heat stable
✔ Grapeseed oil – light and reliable
✔ Canola oil – affordable and beginner-friendly
✔ Vegetable oil – widely available and effective
These oils create a thin, even layer that bonds better to the stainless steel surface.
Oils to Avoid
Some oils break down too fast under heat.
Avoid:
❌ Butter – burns quickly
❌ Extra virgin olive oil – low smoke point
❌ Coconut oil – can leave heavy residue
They are great for cooking but not ideal for seasoning stainless steel.
From practical kitchen experience, grapeseed and canola oil are the easiest and most reliable choices for beginners learning how to season stainless steel cookware.
Common Mistakes When Seasoning a Stainless Steel Pan
Many beginners feel seasoning “doesn’t work,” but in most cases, small seasoning mistakes are the reason.
Common mistakes when seasoning a stainless steel pan include using too much oil, overheating, and skipping proper preheating.
Here’s what to avoid:
❌ Using Too Much Oil
More oil does not create better seasoning. Excess oil forms a thick layer that turns sticky when heated. This can leave uneven residue on the stainless steel surface.
Always apply a very thin coating. The pan should look lightly shiny, not greasy.
❌ Using Very High Heat
Overheating breaks oil down too quickly. This creates burnt residue and sometimes heavy smoke. Medium heat gives better control and a cleaner seasoning layer.
❌ Skipping Preheating
Adding oil to a cold stainless steel pan leads to uneven coating. Proper preheating allows oil to spread evenly and bond better to the surface.
❌ Expecting Nonstick-Pan Results
Seasoning helps reduce sticking, but stainless steel will not behave like coated nonstick cookware. It relies more on heat control and cooking technique.
From practical kitchen experience, mastering heat and oil timing solves more sticking issues than repeated seasoning.
How Often Should You Season a Stainless Steel Pan?
Many people ask how often to season a stainless steel pan.
The simple answer is: only occasionally, not before every use.
For most home cooks:
✔ Season once every few weeks
✔ Or when food starts sticking more than usual
If you cook daily, normal pan maintenance and proper preheating usually matter more than frequent seasoning.
Seasoning becomes helpful when sticking increases or after deep cleaning that removes oil buildup.
From practical kitchen experience, many experienced cooks rarely season and instead rely on good heat control and oil timing.
Seasoning can help, but it is not a daily requirement for stainless steel cookware.
Alternative Method: How to Preheat a Stainless Steel Pan Properly
Many cooks don’t realize that learning how to preheat a stainless steel pan properly can prevent sticking better than seasoning.
In fact, good preheating is one of the most effective ways to improve stainless steel cooking performance.
The Water Drop Test
The best way to preheat a stainless steel pan is the water drop test.
- Heat the empty pan on medium heat
- Sprinkle a few drops of water into the pan
- If the water forms small beads that glide around instead of evaporating instantly, the pan is ready
This happens because the stainless steel surface has reached the right temperature for cooking.
This happens due to the water droplet effect on hot pans, where water beads glide on a properly heated surface instead of evaporating instantly.
What to Do Next
Once the pan passes the test:
- Add your cooking oil
- Then add food
Adding oil at the right moment creates a natural barrier between food and the steel surface, which helps reduce sticking.
From real cooking experience, mastering heat control and oil timing improves results faster than relying on seasoning alone.
Many professional chefs use this preheating method daily with stainless steel cookware.
For long-term care, you can also read our guide on how to clean stainless steel cookware.
How to Clean a Stainless Steel Pan After Seasoning
Knowing how to clean a stainless steel pan after seasoning helps maintain the surface and prevent buildup.
The good news is stainless steel cookware is durable and easy to care for.
Yes, you can safely use soap on stainless steel after seasoning. It will not ruin the pan like it might with cast iron.
Stainless steel is widely considered a safe and non-reactive option for cooking. Health authorities note that using food-safe kitchen materials helps reduce unwanted chemical reactions during cooking.
Simple Cleaning Tips
✔ Let the pan cool before washing
✔ Use warm water and mild dish soap
✔ Use a soft sponge or cloth
✔ Dry the pan fully after washing
Stainless steel has a non-porous surface, so normal washing does not damage it.
If Oil Residue Remains
Sometimes a light oil film may remain after cooking.
If that happens:
✔ Wash again with mild soap
✔ Use warm water
✔ Gently wipe with a soft sponge
Avoid harsh scrubbers that can scratch the surface.
If food sticking is a frequent issue, you can also read our guide on why stainless steel pans stick.
For safety tips, see our article on is stainless steel cookware safe.
FAQs About Seasoning Stainless Steel Pans
Can seasoning make a stainless steel pan nonstick?
No. Seasoning can reduce sticking but it cannot turn stainless steel into a true nonstick pan. Stainless steel still depends on proper preheating and oil timing.
Can you ruin a stainless steel pan by seasoning?
No. Normal seasoning will not damage a stainless steel pan. Problems only happen if oil is overheated for too long and leaves heavy burnt residue.
Is olive oil okay for seasoning stainless steel?
Regular olive oil can work, but it has a lower smoke point. Oils like grapeseed or canola are better for seasoning because they handle heat more reliably.
Why does food still stick after seasoning?
Food usually sticks because the pan was not preheated enough or oil was added at the wrong time. Seasoning helps slightly, but cooking technique matters more.
Do professional chefs season stainless steel pans?
Most chefs focus on proper preheating and oil control instead of frequent seasoning. Technique is more important than seasoning.
Do you need to season a stainless steel pan before first use?
No. You can use stainless steel cookware right away after washing. Seasoning is optional and mainly helps beginners reduce sticking.
Final Thoughts
Learning how to season a stainless steel pan can help reduce sticking, especially if you are new to stainless steel cookware.
But seasoning is not a magic fix. Good heat control, proper preheating, and using the right amount of oil make a bigger difference in everyday cooking.
With a little practice, cooking on a stainless steel surface becomes easier and more predictable.
If you’re still upgrading your cookware, a good-quality stainless steel frying pan can also help improve cooking results and reduce sticking.